When the Worst Happens ~ Strategies for Managing Lost and Stolen Cattle
By: Jaclyn Krymowski
There are many issues that can arise on the ranch. If you’ve been in the business long enough, you are bound to run into common issues and likely will face rare ones too. However, it’s best to be as prepared as possible on both ends of the spectrum.
An uncommon but very real example is stolen and missing animals. Whether they become displaced due to a down fence, natural disasters or malicious interference, it’s best to ensure your cattle are properly identified and documented for smooth recovery.
The Case of Stolen and Missing Cattle
The loss of cattle isn’t just a financial setback; it’s a deep personal blow.Ranchers pour countless hours of dedication, commitment, and passion into raising their herds. Stolen cattle represent not just a financial loss, but a loss of invested time and effort.
Financially, the impact can be significant. While the cost to replace cattle comes with a hefty price tag, the true loss goes beyond the immediate expense. Consider a bred heifer – all the work that went into raising her to this point is gone. Depending on her stage of pregnancy, this loss could mean the absence of a future replacement animal or marketing income. In essence, cattle theft strikes at the very heart of a rancher’s livelihood and future plans.
In the last decade, as with so many other types of crime, livestock theft has become more organized and more frequent. And this isn’t limited only to cattle. Behind livestock, high-value equipment is a prime target for many thieves.
Ranches are a particular risk because it is not always easy to spot a missing animal in a large group for days. As well, cattle are usually pastured in remote locations with little to no oversight making it very easy for thieves to quickly move in and out.
Reporting Incidents
The first step when you do notice any missing animals is to file a report with law enforcement and your livestock inspection program.
Remember that the more details you can include, the better. Besides brand, tattoo and ear tag information, list any other distinct marking or features such as approximate age and condition.
When any livestock is found, arrangements will be made for the owner to recover their animal(s). The person who files the “found livestock” is eligible to be reimbursed for any feed expenses. Or, they can ask for money to help with property damages, according to the Washington State Department of Agriculture.
Of course, be sure to familiarize yourself in advance with your own state’s unique law and protocol related to lost and stolen livestock. This is important because oftentimes there are other guidelines that the person who found the animal can follow. Being aware of some of the responsibilities you may have to the person who recoveredthe animal is important to note so you are not blind sided.
Protecting Your Herd from the Worst
There are a few ways to ensure that your herd is protected and to deter potential threats from thieves or others intent onmessing with your livestock. This can include animal extremist groups who have been known to trespass and steal animals in the name of illegal “open rescue” efforts.
It’s a good practice to routinely count animals. This may be at feeding times and handling events or when inspecting fencing. If you have some pens or pastures that are alongside heavily traveled roadways, you will want to prioritize inspecting more often and have gates with robust locks.
In this same spirit, it’s important you and your entire team remain vigilant to any suspicious activity or persons entering your facilities. Have an open line of communication so that managers or supervisors are immediately aware of unusual happenings.
The same vigilance should go for onboarding new hires. Always ask for references and check their work histories. When possible, your manager should have a general awareness of where everyone on the team is expected to be during work hours. Don’t give out secure information or access to just anyone on the team.
For tracking and recording livestock, new technologies like GPS and satellite management are starting to enter the industry. These can provide remote visibility on the location and havestrong potential to prevent livestock theft.
It almost goes without saying, but every operation should be sure that all their cattle are marked with either registered brands, tattoos, tags or some form of permanent identification to help with the recovery process and provide proof of ownership. These should always be checked every time animals are handled as tattoos and ear tags can become difficult to read over time and may require redoing.
Finally, securing facilities on a routine basis is a must for every ranch. Security cameras and alarm systems are nice when feasible. But even a nightly plan for walking fencelines, checking spare buildings and locking up after work hours will go a long way in preventing crime.
Whenever there are suspicious vehicles or unwarranted visitors on your land, don’t react immediately. Instead take a moment to assess the situation and jot down general information such as license plate numbers, vehicle information and personal profiles.
If you have a good relationship with your local law enforcement – and you should – you can make them aware of this information even if no crime has taken place. This ensures they will be familiar and can react swiftly in the event they are criminal activities.
Even with money, good equipment and good employees, there’s no silver bullet to keep yourself from becoming a victim to cattle and other ranch theft. Animals do break loose from time to time and natural disasters wreak havoc on facilities. These problems areas old as ranching itself, and not likely to cease. .
But advanced preparedness, knowing who and how to report missing or stolen cattle and a plan for being aware of cattle numbers and identities can help ease the panic and chaos in the moment. It also gives you the best shot to recover your losses.
Sometimes weaning calves early can be beneficial for both the cows and calves.
To do this efficiently, however, it’s important to plan ahead and be set up to do it properly.Dr. Greg Lardy, North Dakota State University, says most producers who try early weaning are using it as a drought management tool, or in other situations where they may be facing a forage shortage.
“It can work effectively in those conditions because the big advantage of early weaning is reducing lactation demands on the cow.A dry cow on drought-stressed forage has much lower nutrient demands than a cow hitting peak lactation.Producers who have been able to utilize this option have made it a very effective tool in dealing with drought,” he says.
“The big issue is what to do with the calves.Do you have facilities and feedstuffs to manage them effectively?If you do early-wean calves, especially if they are only 2 to 3 months of age, they have relatively high nutrient requirements and need a high-quality diet,” he explains.Some people may wean them that early, while others may be weaning at 4 to 5 months of age, rather than their traditional 8 to 9 months of age.
“Another circumstance where I see this management tool used effectively is with calves from first-calf (2-year-old) heifers.In addition to lactation demand, the 2-year-old is still trying to grow and reach mature size.Even in a non-drought situation, it can help these young cows if you don’t leave calves on them too long.You free up the cow’s nutrients to complete growth and have a healthy pregnancy.”
Lardy always recommends doing some planning if you decide to early wean.“This is not something you just jump into.You need to figure out how you want to do it and make sure you have facilities in place, feed for the calves, and work with your veterinarian to make sure you have the proper animal health program for those early-weaned calves,” he says.
Some people plan on feeding the calves while others just wean them on pasture.“Many producers in my area are used to doing backgrounding or heifer development with their calves, so they already have facilities, and some experience handling calves post-weaning.So handling calves that are a little younger—say 4 to 5 months old–is not a big stretch.But if you get into a situation where you need to wean because of severe drought and decide to take them off the cow at 2 months of age, this is a different animal than most producers are comfortable with or used to handling.Many people don’t know if they can properly care for the calves at that age,” says Lardy.
“But if you meet their nutritional requirements, you can successfully wean them that young.Most people I’ve worked with on this are weaning at 4 to 5 months of age and the calves have a little more growth and can make the transition better.”They are used to eating more forage and it’s not such an abrupt change.
“Some people wean them and if the markets are good they’ll go ahead and sell them as lightweight feeder calves early in the season.They may weigh only 350 to 400 pounds and are sent to a stocker operation.Other people have the facilities and feed to manage those calves and sell them later, at the time they normally would.Some are working with a feedlot and maybe retain ownership on those calves,” he says.
“When working with really lightweight calves, the facilities you built to handle 500-600 pound calves when you wean in October aren’t going to work as well for a 250-pound calf weaned in July.Those calves can find the tiniest hole in the fence and crawl out.They may also have problems reaching over a bunk to eat, or reaching the water in a tank.I tell people not to make the decision one day and go out and wean calves the next.Make sure you think through some of these things and adjust the facilities,” he explains.
You may also have to deal with heat stress that time of year.“With early weaning, especially in a drought, you are almost always dealing with hot, dry weather—higher temperatures than normal.Heat stress can be factor, so take that into account when weaning and handling calves, and working the cows, as well.Some years, even in our climate, there are severe heat loads on cattle, and some people actually lose cattle—due to high temperatures, high humidity and lack of a breeze,” says Lardy.
You might need to provide shade for the calves, instead of protection from fall and winter storms.“With earlier weaning dates, make sure you can protect calves from heat.Having plenty of fresh water is important, and some calves have no experience drinking from tanks or fountains.They may have been drinking from a dugout, pond or stream,” he says.
Sometimes it helps to put the cows and calves into the weaning pen or pasture a few days ahead of time, so cows can show the calves where the feed and water is.“Some people also have success with a trainer/babysitter cow, or even an older feeder calf as a role model.”The older animal can teach the young ones, and act as security for them, in a leader/follower role.That animal can have a calming influence on younger calves.
“It’s important to work with your veterinarian to make sure you have a good vaccination program in place that will work for early-weaned calves.You need to plan this a little, but sometimes a person needs to take emergency action.If your pastures had fire damage and you lost a lot of forage, you may not have time to do much planning.”
Weaning early can take some of the pressure off forage supplies and nutrients required by the lactating cow.By the time a calf gets to be 4 to 5 months of age he is eating a significant amount of forage.“The lactating cow is eating more forage than a dry cow.The people I’ve worked with over the years who have weaned early tell me they can notice a difference in pastures, grazing dry cows rather than pairs.This can aid recovery of pastures the following year, as well,” says Lardy.
When weaning early, producers should prepare facilities, taking behavioral issues into account.When calves are weaned in pens, they circle the pen, trying to find a way out.“If the water source is located in the fence line, calves will find it quicker.If it’s in the center of the pen they will find it eventually, but it will take longer,” he explains.Having feed bunks in the fence will also help them find the feed more readily.
Starting young calves out on fine, palatable long-stem forage is also a good idea, because this is the type of feed they are most familiar with.“You also need to get them transitioned onto some energy-dense, nutritious feeds fairly quickly, since they can’t handle much volume of forage yet.You might use a starter pellet from a commercial feed company or mix the diet yourself, but these calves need good-quality forage and nutritious concentrate to make sure they have adequate protein and energy levels and their vitamin/mineral requirements.Avoid low-quality hay, or any hay with dust, mold or heat damage, as these will lead to problems in early-weaned calves,” he says.
“When you wean a calf that’s only 2 to 3 months old, the rumen volume is much less than that of a calf that’s 6 months old or older.The young calves need a denser diet.A nutritionist available through your extension service or a feed company can help you with the ration.There are many ways you can do it, but you need to make sure you are providing the nutrition these calves need,” he says.
“If you have time, it pays to do any castration, dehoring, branding, etc. well ahead of weaning (at least a couple weeks) or a couple weeks after weaning.If you compound the stress of weaning with these things, you are potentially setting yourself up for additional problems,” says Lardy.
If you wean in summer there will also be fly issues, as well as heat.“If the calves are in a pen, there are some easy control measures to cut down on flies—whether it’s fly tags or a spray application of pesticide.Some feedlots also use parasitic wasps to control flies that breed in manure.Fly control should not be overlooked because flies are one more stress you don’t want,” he says.
“Another issue in a drought is that you often end up with dusty conditions in pens.Finding a way to manage dust is a good idea because it’s an irritant to the eyes (opening the way for pinkeye) and to the nasal cavity and airways.Irritation can contribute to additional respiratory issues.If you can water down the pens periodically to keep dust down, this helps.You typically have warmer temperatures than during fall weaning, and if there’s wind there will be dust blowing around,” he says.
“If you are thinking about doing this for the first time, do some advance planning.Sit down with your veterinarian, and a nutritionist if you have one, to work through the health and nutrition programs these calves will need, for successful early weaning.Most of the time, early-weaned calves transition just fine, and in many cases easier than older calves in November when you get into cold stormy weather.But it pays to work with animal health professionals and nutritionists ahead of time to make sure you are not overlooking something,” he says.
“Most of the time your veterinarian will know your herd well enough to give good advice on what to use and when to vaccinate, and whether you should do anything different than what you normally would have been doing.If you get into a really early weaning situation, often you are still close enough to birth that you could run into interference problems when vaccinating, because the calf still has maternal antibodies from colostrum.These are things that make it important to have a veterinarian involved because decisions may need to be made on a case-by-case basis.We can’t give a blanket recommendation on vaccinations.Every herd is different, which is why you need to consult with your veterinarian.”It depends on the herd, the age of the calves, etc.
For producers whose pastures are drought-stressed, early weaning might be beneficial, according to Dr. Bart Lardner (Department of Animal & Poultry Science, College of Agriculture & Bio-Resources, University of Saskatchewan).Last year he did some drought workshops for producers, and talked about early weaning.“We need to make sure the calf’s rumen is functioning, and adjusted to a forage diet, and realize that we need to get calves weaned with least stress possible,” he explains.
If the calf weighs 300 to 400 pounds, what is your target for weight at sale time?“What is your expected average daily gain?Expected feed intake for those calves may vary; they need some forage, with enough energy and protein in the diet.On the energy side, they need 56 to 60% TDN and on the protein side 11 to 13%,” he says.
Depending on the forage quality, a supplement may be needed—especially if forages are low-quality because of drought.“What I’ve found over the years is that overall, calves that are 3 to 6 months of age on a typical grass-based pasture or native range will not gain more than 2 pounds per day, and in a drought year it will be less than 2 pounds.It that’s not acceptable, you need to feed a supplement.”
This might be pellets or barley, or something else to provide the extra energy.“These calves probably need 3 to 4 pounds per day because they are growing fast.They also need the proper mineral balance.Make sure the rumen is functional and they can handle various fiber sources,” says Lardner.
“We’ve looked at all kinds of different fiber sources for cows, other than a typical hay bale, and options might include salvage crops.But with calves you want to make sure they can handle the feed and keep gaining and growing.Basically you are just backgrounding them early.”They need a ration appropriate to their stage of growth and development so they can hit whatever target weight you are shooting for at the time you sell them—maybe 600 to 700 pounds.
FEEDING TIPS
“In most cases calves won’t have experience with fermented feedstuffs or wet byproducts, unless their dams were being fed some of this in their ration before they went to pasture.You need to start with feeds they are most familiar with, which is usually long-stemmed forages.Then, if you want to use silages or by-products, introduce those gradually after you get the calves eating hay and they are well into the weaning process.Then you can introduce them to these novel feeds,”
says Lardy.
Do the math and figure out how much daily gain is needed for those particular calves to reach your target.“When you early-wean, you are basically starting a backgrounding program.Have an objective, and make sure you have a market.You might have an arrangement with a local feed yard or someone who is finishing calves, or perhaps just selling through an auction market,” says Lardner.If the calves are already weaned and backgrounded, they are more saleable; they are ready to go anywhere and at any time.These cattle are very flexible for marketing.
“This can be part of a drought plan—weaning calves early and timing the marketing as needed.Each month have a plan for what to do if you don’t get rain.You could move this group of animals, or that group of animals, when necessary.You are destocking, but you have a plan in place.”Calves that are already weaned are your most flexible group, and hopefully their body condition has not been jeopardized and they will be looking good.
Fly control has long been a point of contention for cattle producers. Whether you manage 200 head of cattle in a smaller ranch, or 2,000 head of cattle in a feedlot, one thing’s for sure: Fly control is a top concern requiring diligence and understanding of the best products and procedures required to keep animals healthy.
As Frank Junfin, entomologist at Kunafin in Quemado, TX explains, the trends in fly control – basically fly control like many other control programs such as field crops, has been primarily the use of chemical insecticides. Kunafin, the producers of beneficial insects since 1959, has been promoting other important tools, such as an integrated biological control program using the natural enemy of the fly, the fly parasite.
“Remember, with fly control there are no magic bullets,” Junfin says. “There’s a process of using several tools and various products, so it’s important to work to establish a total and complete management program. We are constantly exploring new and better compatible solutions. Each operation has unique situations that we always are thriving to help find solutions because they all can be very different.”
Some of the biggest concerns regarding fly control within the cattle production environment is the cost of killing the pest, as producers are always looking for the minimal cost for the maximum amount of results..
Another concern pertains to disease issues as diseases are spread and carried by flies. There are also production problems as far as weight reduction, milk – quite simply, any reduction in an animal operation means there is reduction of their productivity due to a fly problem. So, when Kunafin first initiated the use of fly parasites in the animal industry over 60 years ago, the concerns were their viability and efficacy.
“We had to really prove the success and the sustainability of a biological integrated control program, and it took many years to overcome and turn doubters into believers, not only with producers but also within academia through education and direct demonstration,” Junfin says. So Kunafin has worked to educate and demonstrate the program with the many agriculture facilities worldwide. Through this Junfin and the Kunafin team have also shown a very important aspect of what the producer is doing and what can be accomplished.
“The positivity of using a biological integrated approach has substantially reduced the overuse of insecticides. Therefore, the producer is able to produce a safe product for the consumer, and as the times passed consumer knowledge of an agriculture facility using a Kunafin biological integrated program has brought a lot of good positive feedback to the producers,” Junfin says.
So what should ranchers look for in fly control and what common mistakes should they avoid?
Junfin says a producer should be looking for a good sound, common sense, fly management program. One of the most important things the producer needs to avoid is not to take the “magic bullet” syndrome approach.
“It is not chemical versus biological. It’s all about integration and it’s not waiting until flies are present in horrendous numbers and then react,” Junfin says, “It’s about thinking of prevention – whether it’s cleaning corals minimizing breeding areas, minimizing weeds, that’s all prevention. The use of beneficial insects, releasing beneficial insects, and the natural enemy of the fly – fly parasites – is also prevention. As the fly season progresses, if we need to do some reactive measures, there is still room for some of the approved insecticides that could be applied in conjunction with in a total full and complete program.”
According to M. Wayne Ayers, DVM, senior technical consultant at Elanco Animal Health, although the ranching industry has seen any new products that would fall into a new chemical class for fly control on or around cattle in several years, as the industry continues to learn more about flies in general and the economic impacts they can have for producers, industry professionals are looking at better ways to use the products currently available.
“We are also looking at the best ways to use fly control products that guard against the potential of resistance and encourage stewardship,” Ayers says.
Ayers points out that the need to understand flies and having choices of several products in different chemical classes is why entities, such as Elanco Animal Health becomes an solid choice as a rancher’s fly control partner. For example, Elanco has the largest and most diverse insecticide and parasiticide portfolio among animal pharmaceutical companies, allowing the company to help producers design better and more complete fly control programs across beef, dairy, poultry, and swine species. Because of the company’s broad portfolio made up of multiple insecticide classes, they can help with the rotation of chemical classes to reduce the risk of resistance in fly populations.
Dorane Strouse of Useful Farm Products says the biggest trend facing the fly control industry continues to be moving away from using harsh chemical sprays and to using better manure management and incorporating safe products like fly parasites and fly traps.
“The flytraps have become much better and more for specific flies,” says Strouse, who adds that most ranchers have larger pastures or rotate and don’t rely on fly control. Ranchers have to use fly control and use a wide variety of products from sprays, granular poisons, ear tags, fly parasites, sticky tapes, and a wide variety of traps. “Our preference is the parasites in combination with sticky tapes and non-toxic traps,” Strouse says.
When farmers and ranchers are looking for fly control products, several factors must be considered including the species of the fly, the time of year and the region within the U.S where they live.
“There are three major categories of fly control products: on-animal, premise and larvicides,” Ayers says. “The best fly control results from targeting flies with products from all three categories.”
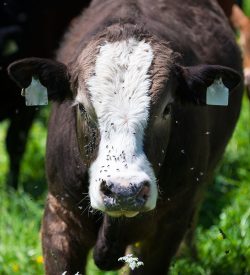
dark brown cow with flies on flying around in green meadow
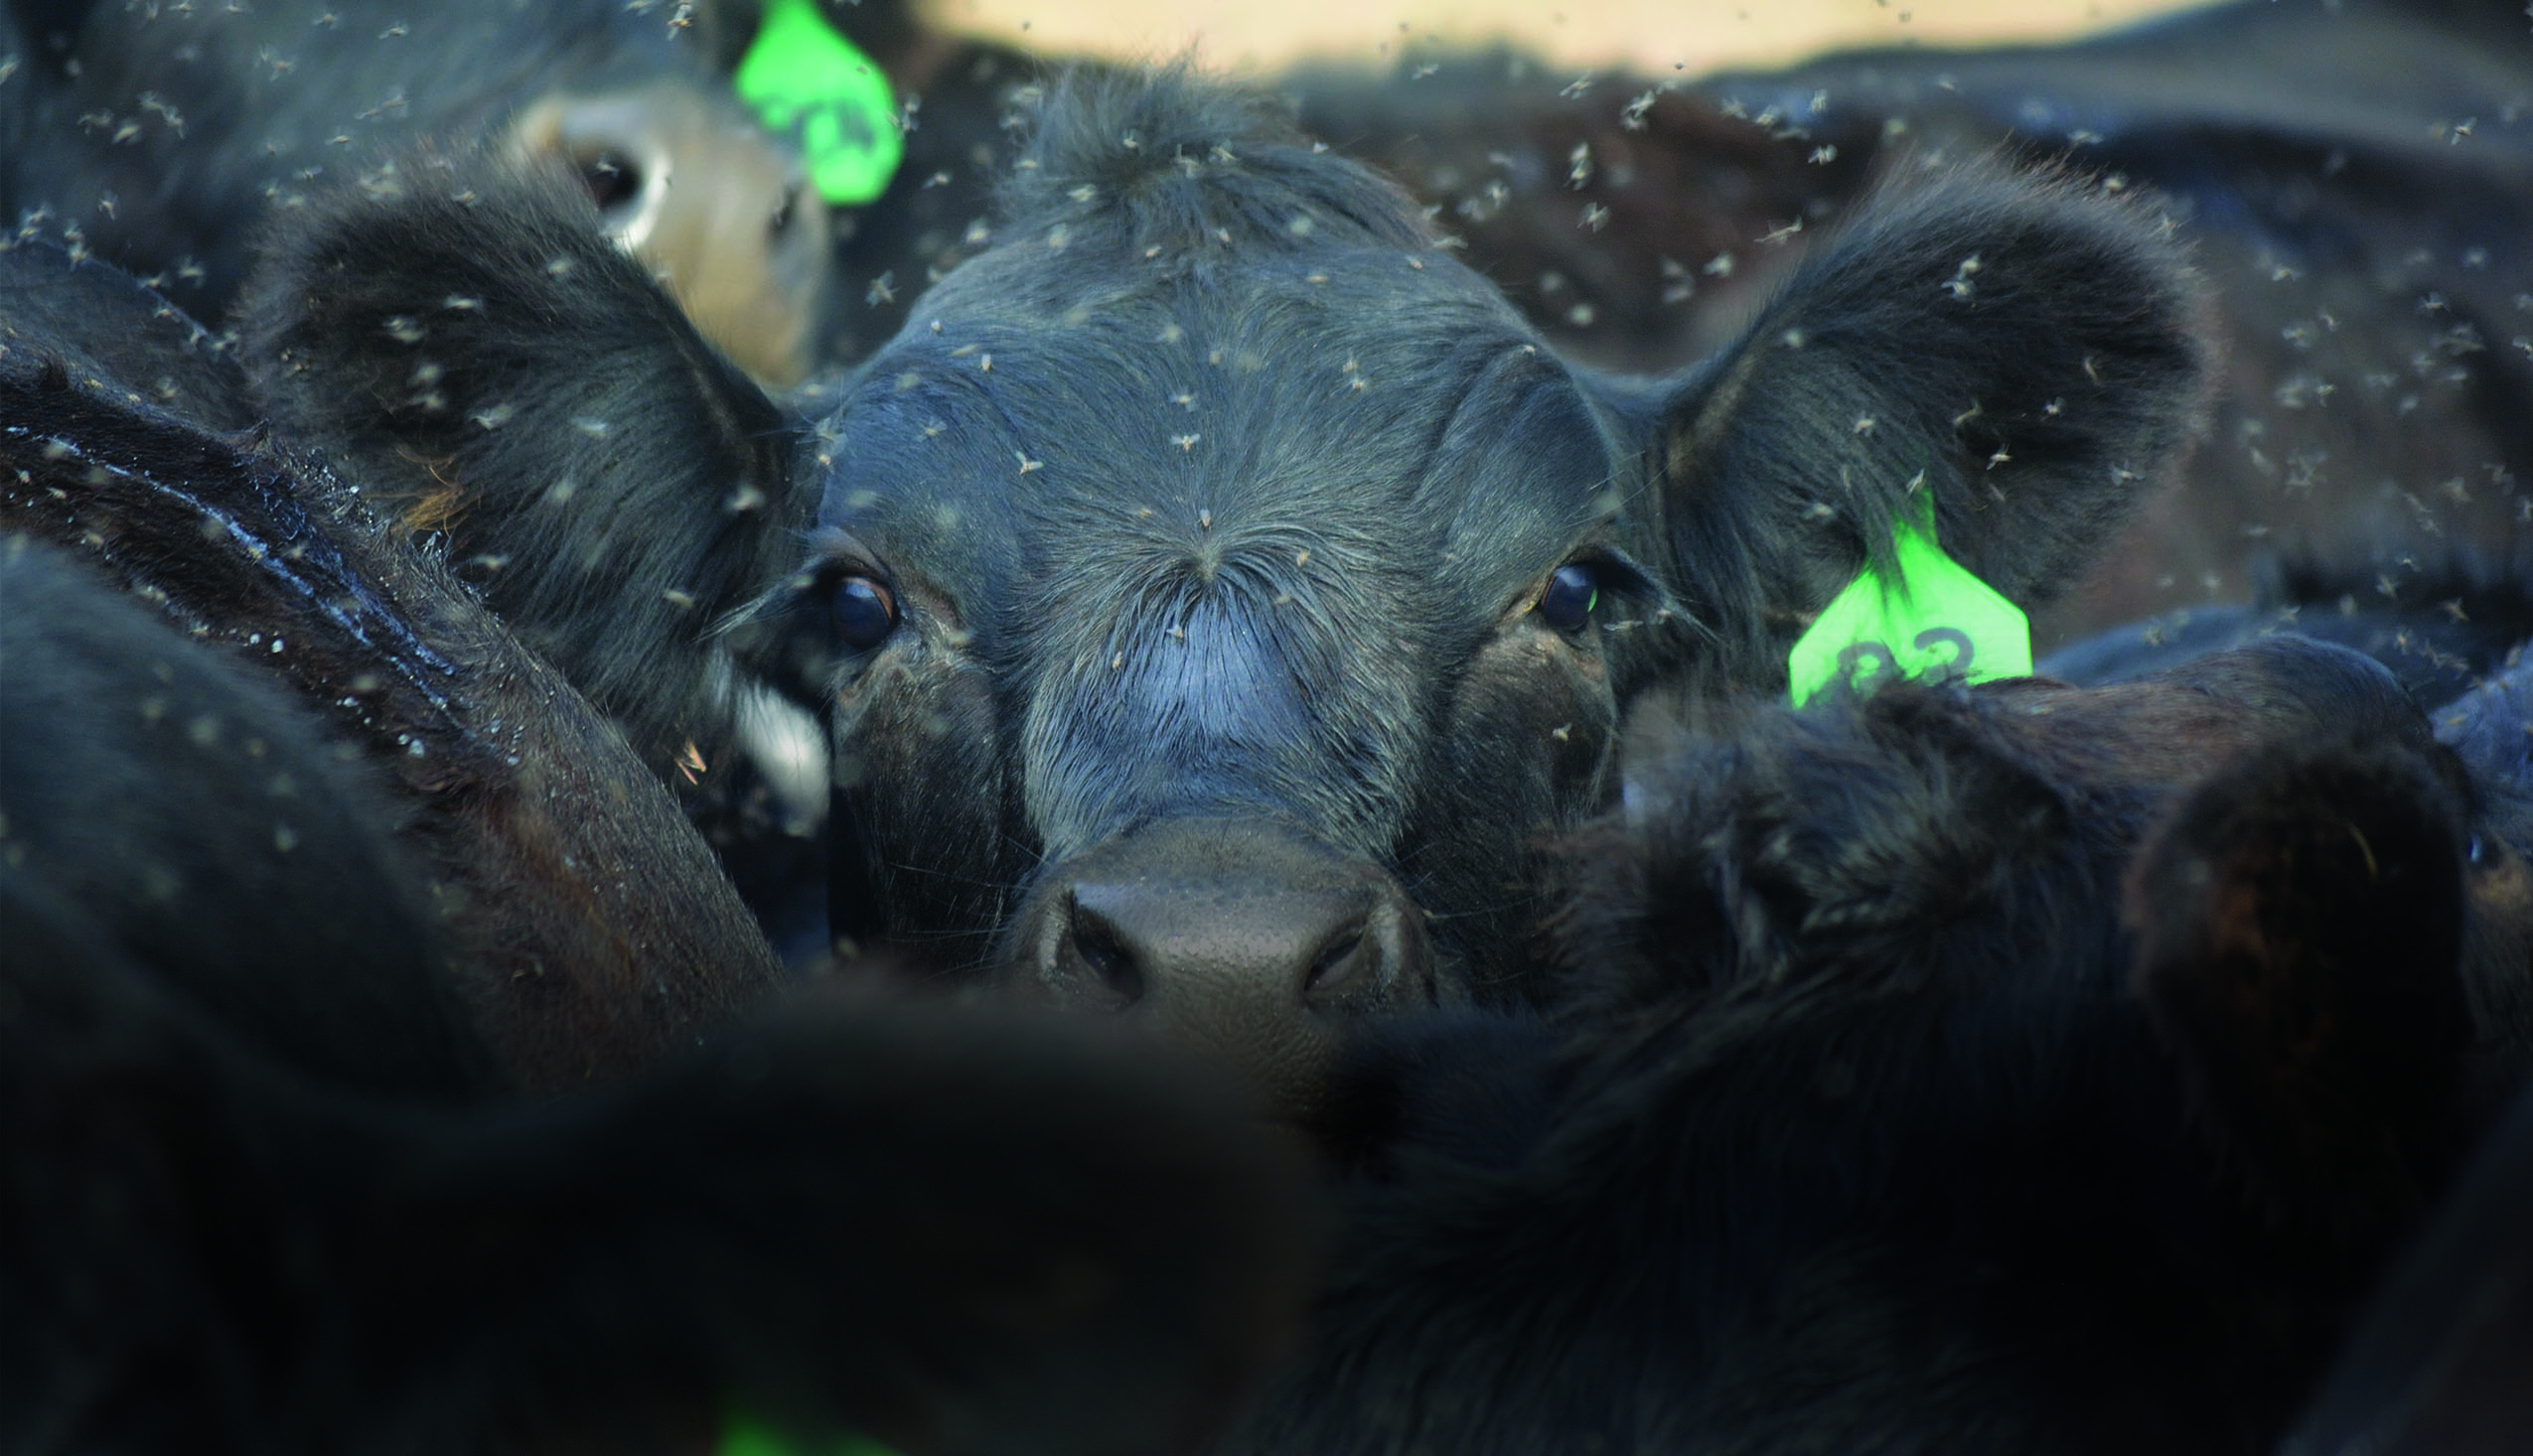
There also are four major flies of concern: horn flies, face flies, stable flies and house flies. Each poses its own risk for producers and their cattle, including economic loss, the spread of disease and animal welfare,” Ayers says.
Horn flies pose a large risk because if they are not controlled, it can result in significant weight losses for cow-calf operations. “This can include up to 15 pounds of lost weaning weight per calf and for stocker cattle of up to 50 pounds of gain for the season,” says Ayers, who further explains that an adult horn fly lives on the cow its entire life, only leaving it to lay eggs in fresh feces. The fly feeds up to 30 times a day, taking a small blood meal of about 1 µl (microliter, 1/1000ml) at each feeding. An untreated cow can have 4,000 or more flies on it, which can mean approximately 120,000 bites per day, 5,000 bites every hour, resulting in blood loss of up to 120 mL per day.
“If a cow is being bitten frequently, not only will it not be able to graze as much as it should, leading to reduced milk production for her calf, but the blood loss and discomfort have a significant impact on the cow’s overall well-being,” Ayers says. “Uncontrolled face flies can result in losses due to transmission of Moraxella bovis, the organism that causes pink eye. Pink eye is very painful and can lead to vision loss if left untreated. Calves with a pink eye scar can bring $10-12 less/cwt than a calf without a pink eye scar. Cattle with as few as 12-14 Face flies graze about an hour a day less than cattle without face flies.”
Stable flies also bite cattle on the legs, causing significant pain and reducing the time spent eating. According to Ayers, this can lead to a decrease in average daily gain of 0.4 pounds The Stable fly bite is the most painful of the four mentioned flies, and the fear of being bitten causes cattle to crowd tightly together to avoid bites, putting the cattle in the center of the group at risk of heat stress in the summer.
“House flies are a nuisance for both humans and animals and have been shown to carry more than 100 different pathogens, including bacteria, viruses, fungi and parasites,” Ayers says. “Many of these organisms, such as Salmonella, can pose a serious health risk to both humans and animals. These flies can land on surfaces such as feedstuffs, milk and water buckets, transferring pathogens from place to place.”
Continuous Focus
Remember, it’s all about fly control program that is established.
“‘Program’ is a very important word. Just as we think about animal health, there’s not just one magic bullet to suffice. All your animal health needs, nutritional programs, do not rely on one product that’s going to give you the most amount for your gain or production. It’s all about the program,” Junfin says. “This includes the use of beneficial insects, fly parasites, the natural enemy of the flies, to be released early in the season and throughout the season to reduce adult fly emergence in an operation.”
Cleanliness is also paramount in helping minimize moisture in corrals, as well as manure management and weed management are also all very important in fly control.
There are certain considerations that cattle ranchers need to make as it relates to fly control that may differ for daily producers. As Strouse explains, no dairy can be without full scale fly control: manure management, fly prevention, fly elimination. Dairies take the calves off the mothers and put them in special calf areas which are notorious fly breeding areas and can lead to many diseases including pink eye.
“Most beef ranchers have an abundance of land and keep the young with the moms and don’t need strong fly control,” Strouse says. ‘Those in feedlots and confined areas do need the same: manure management, fly prevention and fly elimination.”
Ayers advises ranches and cattle producers that it’s important to approach fly control holistically. This means implementing a program that targets flies in as many ways as possible and where flies rest, feed, and breed.
“While it is important to choose individual fly control products that fit your operation, it may be equally or more important to manage facilities properly, properly apply the chosen products, and rotate product classes to achieve optimum fly control,” Ayers says.
It’s important to understand that an insecticide ear tag serves as a reservoir of sorts for cows to apply the product to their body daily. “Some believe ear tags emit some kind of aura that protects the cow in a bubble, which is not true,” Ayers says. “In reality, the cow spreads the chemical from the ear tag onto her body as she grooms herself. Additionally, she spreads it to her calf’s body as she grooms the calf, and as the calf rubs on her while nursing.”
For a cow-calf pair, an ideal application of insecticide ear tags includes three tags per pair. For the cow, one ear tag should be applied to the front of each ear, with the button on the back of the ear. As Ayers explains, the cow needs a tag in each ear to transfer chemical from the tag to the respective side of her body during normal grooming. For the calf, one ear tag should be applied on either ear.
“The purpose of the tag on the calf is to apply the chemical to the belly of the cow as the calf nurses and not necessarily to protect the calf,” Ayers says.
According to Ayers, it can take up to one week for the chemical in the ear tags to fully cover the cow’s body, so allowing time for the product to work is important.
“Because ear tags have a fixed life of efficacy, timing of application is also key. If applying ear tags too far ahead of fly season, the tags may become depleted before the end of the fly season,: Ayers says. “One may need supplemental fly control when tags near their life expectancy, whether applied too early or in regions with an extended fly season.”
In the end, Ayers agrees that effective fly control requires a well-planned program targeting flies where they rest, feed, and breed specific to the species being targeted.
“To increase one’s chances of successful fly control and maintaining cattle as comfortable and productive as possible, it is important to plan well ahead of the fly season,” Ayers says.
Strouse advises ranchers to start early, be aggressive and stay safe. “There is a famous saying, ‘One fly killed in May can mean 1,000 less in August.’ In less than a month a fly lives, it can lay 500 eggs and flies increase geometrically if not controlled. Be aggressive with your fly parasites, traps or whatever you use, more is always better,” Strouse says. “Many toxic sprays and chemicals have been eliminated by government regulation and flies have developed resistance to others. They certainly don’t help the health of your animals.”
For Junfin, beneficial insects are the most powerful, and basically the most reliable tool, for a fly control program.
“Just think about this way – honeybees! Everybody knows we need our honeybees to pollinate, we know how powerful they are. A few years back people were worried that our honeybee populations were very low, and people are very fearful that we will not have proper food production or maximum food production without enough honeybees,” Junfin says. “Well, this fly parasite, parasitic wasp is the natural enemy of the fly. It is host specific! It has no other host to rely on or to sustain itself on. Therefore, by releasing fly parasites they will work, they will search, they will find the fly pupa, and reproduce on this. Therefore, they are very, very important integral part of a fly management program.”